Monday, July 2, 2012

Constructing the top


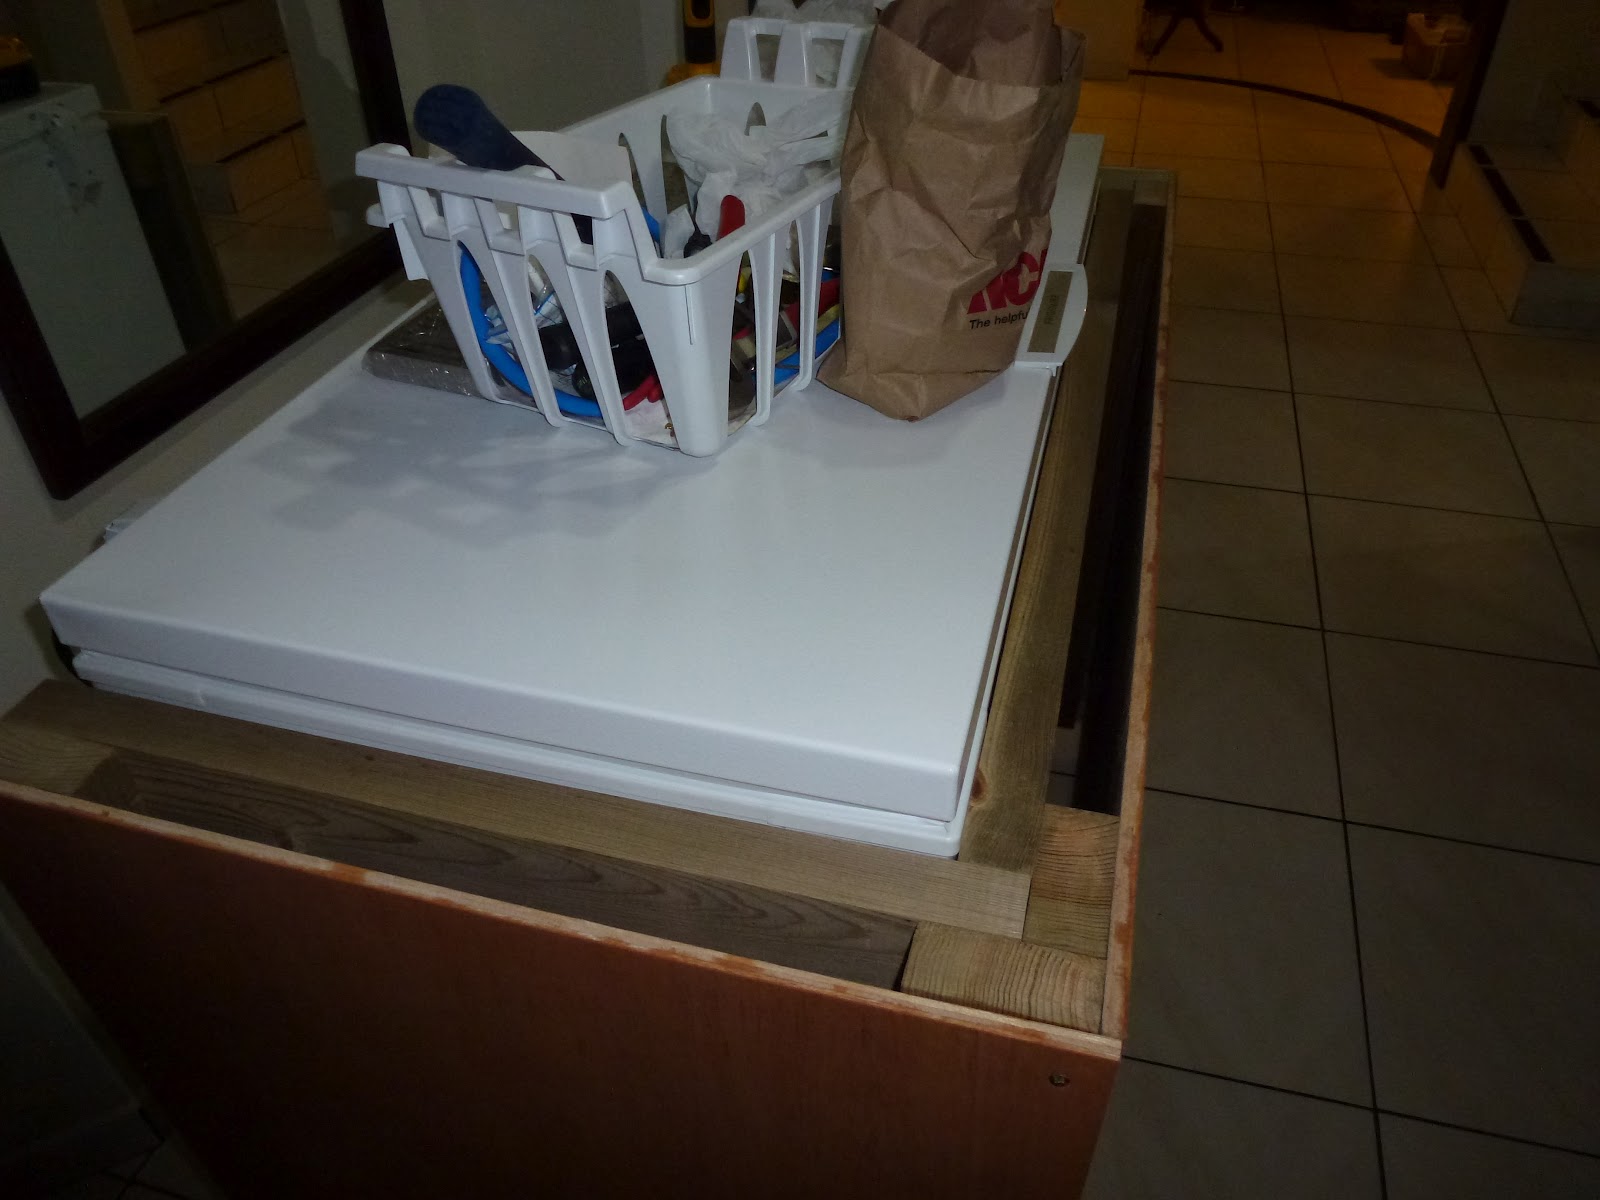
Below is a picture of the Cougarator without the top constructed.  I left it like this for several weeks due to not having all the supplies on-hand and time to construct.  This version actually worked pretty well and I served a keg of IPA using a simple picnic tap.  I'm glad I was at this stage of the project for a while because I was constantly inside the freezer making adjustments and getting everything figured out.  Now that my project is complete I open the lid a lot less due to its massive weight.


While waiting for all the materials to arrive I decided to make the emblem that was to be placed on the front of the Cougarator.  I started by taking to large scrap pieces of 1/4" plywood and I glued them together.  Second I went on the internet and found the emblem I wanted.  I placed that on my large screen TV and used some lite paper to transfer it to the plywood.  I then took a cordless jig saw, cut it out, sanded, painted and applied polyurethane.  Right before we began construction on the lid, we removed the freezer and from the back side of the front panel, we used wood screws to attached the emblem.


Once the materials arrived and my friend Shawn was available, we began working on the top.  I had ordered two tower style taps a few months back, so my design was made around those two center pieces.  Looking around we had seen a few keezers where people had used tiles.  Since this was the Cougarator, we bought some glass mosaic tiles that were as close as possible to the WSU school colors, crimson and gray.  First things first, we had to build a base for the lid.


The first thing we did was cut a piece of 1/2" ply wood, so it exactly matched in size the dimensions of the trim/walls below.  Second we took the 2x4 scraps I had laying around and attached them to the base of the plywood, around the sides and front.


Next we needed to attach the plywood top to the freezer.  To do this we used a large metal bit and drilled four holes through the plywood and freezer top in order to insert large bolts.  Within the freezer I also placed a smaller piece of 1/4" plywood so the bolts would have something to grab onto rather than the weak plastic lid.  One other small note is that we countersunk each of the bolt heads using a paddle bit.


With the lid now permanently attached, we took the 3" trim pieces we used before and attached those to the 2x4s.


With the lid attached to the freezer, it was time to start adding tile.  My friend Shawn came up with the awesome idea of wrapping the tile over the edges, so we went with that.  My only issue was I had bought just enough to finish the top,so it looked like the tile would be completed in two phases.  

First step with the tile was to mix the thin set and spread it over the lid, trowel and lay tile.  I had no idea how to do this, but luckily Shawn was an expert.  As you can see below I was a little short on tile.  I had bought a drip tray that was roughly 2' long, so we did not tile the area where that was going to sit, so it could appear recessed.


Once all the tiles were set, we applied the dark gray grout and cleaned up the tiles.  The next challenge was mounting the two tap towers.  We drilled one large hole for the liquid lines and four smaller holes for the bolts.  The picture below shows the two tap towers attached along with the drip tray inserted.


Monday, June 25, 2012

Creating and attaching the walls and trim

The first step to constructing the the side walls was purchasing some plywood.  Unfortunately here in Central America, the selection of wood is pretty poor.  If I was in the States I would buy some oak veneer plywood, but I am limited to some really rough looking 1/2" stuff.  After cutting the pieces to fit the frame I attached the sheets.


Once I had the plywood attached I decided I wanted to go with a different look. So I took the plywood off the frame and sanded it all down and stained each piece.  I ended up applying many coats of stain over a weeks time.  The next step was the trim.  Again I was limited to Central American hardware stores, so I bough the nicest piece of plywood available and had it ripped down to 3" strips.  I then cut those strips to fit around the walls I had previously cut.  I then also stained the trim to match the walls.


With the walls reattached to the frame, I then attached the trim using small finishing nails.  Its important to sink the nails in, so you can fill each nail hole with wood putty.  After the wood putty dried, I carefully sanded down the putty and gave everything one more coat of stain.


Monday, June 11, 2012

Building the base and shell


The first step to building the Cougarator was constructing the base and housing.  Since the freezer could have upwards of 20 gallons of beer, 40 lbs of tile and grout and another 10 lbs of miscellaneous items, it was extremely important the base be very strong. 


We used treated 2x4s and 3" deck screws to build the base.  I also purchased some very have duty casters in order to move it whenever required.  One thing to consider when building the base and frame is most freezers need 3" or more around them to let the heat escape.  


Monday, June 4, 2012

What is the Cougarator?

Since going to college, I have been an on-and-off homebrewer.  The last ten years I've been living mostly overseas, so in some cases I am forced to brew good beer or suffer drinking local beers that I really do not enjoy.  While I've always enjoyed a good brew day, I always hated bottling.  The idea of spending hours cleaning bottles and caps, transferring beer into bottles and then eventually cleaning and saving those bottles after drinking was getting old.  So for that reason I decided to move into kegging.  


The basic idea behind kegging is you need a keg (to store beer), CO2 ( to carbonate), a cold environment (fridge) and a way to dispense (tap).  Of all the components above, the only big decision is going to be how to refrigerate.  Using my existing fridge to store and dispense beer was not an option, since I wanted to have multiple beers available at any given time.  I also want to move into brewing lagers, which require temperatures between 35 and 55 degrees.


After researching all over the web, I learned the two major options for storing/dispensing beer is a kegerator or keezer.  The kegerator typically is a smaller fridge that has the capacity to hold one to three kegs and has a tower style tap on the top for dispensing beer. The keezer is a chest freezer converted into a refrigerator using a analog or digital temperature controller.  The benefits to the keezer are that it can store much more than your average kegerator, allowing for dispensing of beer and fermentation of beers at low temperatures.  The disadvantages to the keezer are its size, weight, cost and difficulty to construct. 


In the end I decided to go with the keezer design, since I really want to start creating lagers. keezer designs vary from just a freezer with temperature controller, to converted freezers that rest inside beautifully built custom designed bars.  Since I have a willing friend who is an expert carpenter, we decided to create one where the freezer rests inside a wooden frame on casters, finished with wood. 


The name Cougarator was given to our design because I went to Washington State University and wanted place the school logo on the front of the keezer. I have to give credit to HomeBrewTalk.com, where almost all our research was done.  I recommend anyone who is thinking about brewing or building a kegerator/keezer to go to that website.